Archived Water Damage Blog Posts
Repairing Water-Damaged Walls: A How-To Guide
10/16/2024 (Permalink)
 Our team is ready to help you get your home back to normal as quickly as possible.
Water damage to walls can be a frustrating experience for any homeowner. Whether it's due to a burst pipe, a leaking roof, or flooding, the damage can be extensive if not addressed quickly. In this guide, we’ll walk you through the steps of repairing water-damaged walls, helping you restore your home to its original condition.
Assess the Extent of the Damage
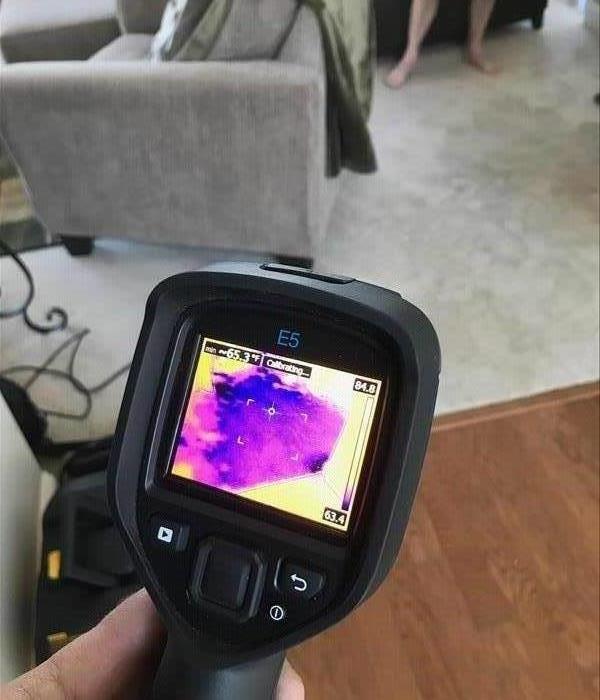
The first step in repairing water-damaged walls is to assess the extent of the damage. Look for signs such as discoloration, warping, bubbling, or peeling paint. In some cases, the damage might be superficial, while in others, it could have penetrated deeper into the drywall or insulation. Use a moisture meter to determine the level of moisture in the wall. If the damage is extensive, it’s advisable to consult a professional restoration service like SERVPRO® to ensure a thorough and safe repair.
Remove the Damaged Material
Once you’ve assessed the damage, the next step is to remove the compromised material. Start by cutting away any visibly damaged drywall. Be sure to cut back to where the drywall is still solid and free from moisture. If the insulation behind the wall is wet, it will also need to be removed and replaced. Removing wet insulation is crucial to prevent further issues, such as mold growth or structural damage.
Dry Out the Area
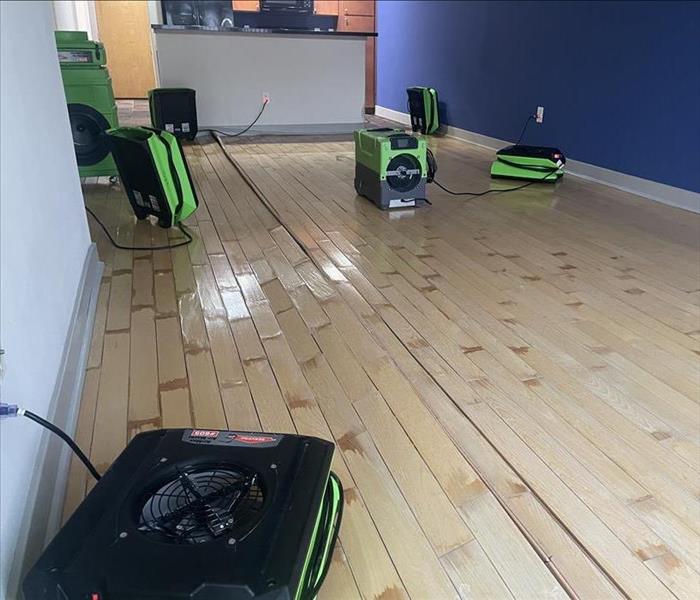
After removing the damaged materials, it's essential to dry out the affected area completely. Use fans, dehumidifiers, and, if necessary, industrial drying equipment to remove all moisture. The drying process can take several days, depending on the extent of the damage and the humidity levels in your home. Proper drying is critical to prevent any lingering moisture that could lead to additional problems down the line.
Repair and Replace
Once the area is completely dry, it's time to repair and replace the damaged sections of the wall. Begin by installing new insulation, ensuring it’s the same type and thickness as the original. Next, cut a piece of drywall to fit the hole you’ve created. Secure the new drywall with screws, and then tape and mud the seams to create a smooth finish. After the mud has dried, sand the area until it’s even with the surrounding wall.
Prime and Paint
The final step in repairing water-damaged walls is to prime and paint the repaired area. Start by applying a primer designed for high-moisture areas, which will help seal the drywall and prevent future damage. Once the primer is dry, apply a coat of paint that matches the rest of the wall. Depending on the paint color and the extent of the repair, you may need to apply multiple coats for an even finish.
Repairing water-damaged walls is a task that requires attention to detail and patience. By following these steps, you can restore your walls to their original condition and protect your home from future water damage. If the damage is extensive or you’re unsure about any part of the process, don’t hesitate to reach out to SERVPRO for professional assistance. Our team is ready to help you get your home back to normal as quickly as possible.
DIY Emergency Water Damage Toolkit: Essential Supplies and Tools
6/12/2024 (Permalink)
 In this blog, we will discuss essential items to include in your DIY water damage toolkit to assist you in handling emergency water damage situations.
Water damage emergencies can happen at any time, and being prepared with a DIY emergency water damage toolkit can help you respond quickly and effectively. Having the right supplies and tools on hand can minimize the impact of water damage on your home or business. In this blog, we will discuss essential items to include in your DIY water damage toolkit to assist you in handling emergency water damage situations.
Wet/Dry Vacuum
A wet/dry vacuum is a versatile tool for removing water from floors, carpets, and other surfaces. It can efficiently extract standing water, preventing further damage and mold growth. Look for a vacuum specifically designed for water extraction, with a strong motor and the ability to handle both wet and dry debris.
Mops, Towels, and Sponges
Absorbent materials like mops, towels, and sponges are essential for soaking up water from hard surfaces. Keep a supply of clean, dry cloths to help remove excess moisture and prevent water from seeping into porous materials.
Fans and Dehumidifiers
Proper ventilation and drying are crucial in preventing mold and mildew growth after a water damage incident. High-powered fans and dehumidifiers can help circulate air and dry out affected areas more efficiently.
Plastic Sheeting and Tarps
Use plastic sheeting or tarps to cover and protect water-damaged furniture, belongings, or areas of your home. This can help prevent further water exposure and provide a barrier between wet and dry areas.
Gloves and Protective Gear
When handling water-damaged materials, it's essential to protect yourself with gloves and appropriate personal protective equipment. This can include rubber gloves, protective eyewear, and, if necessary, respiratory protection.
Moisture Meter
A moisture meter is a handy tool for assessing the moisture levels in building materials such as drywall, wood, and insulation. It can help you determine the extent of water damage and monitor the drying progress as you address the issue.
Sealable Plastic Bags
Use sealable plastic bags to store and transport small, wet items such as documents, photographs, and personal belongings. Properly sealing and labeling bags can help prevent further damage and make it easier to sort and organize items for restoration.
Duct Tape and Repair Materials
Have a supply of duct tape and basic repair materials on hand to temporarily seal leaks, patch minor damages, and secure loose materials until professional help arrives.
Know When to Call Professionals
While a DIY toolkit can be valuable for initial water damage response, certain situations may require professional assistance. If the water damage is extensive, involves contaminated water, or poses safety concerns, contact experienced water damage restoration professionals for comprehensive mitigation and restoration services.
In conclusion, assembling a DIY emergency water damage toolkit with essential supplies and tools can empower you to respond effectively to water damage incidents. However, it's important to remember that safety should always be a top priority, and knowing when to call in experienced professionals is crucial for addressing severe water damage. If you encounter a water damage emergency that exceeds your DIY capabilities, contact SERVPRO® for professional water damage restoration and mitigation services. Our trained professionals have the expertise and resources to handle all aspects of water damage restoration efficiently and effectively.
Emergency Steps to Take After Burst Pipes
2/14/2024 (Permalink)
 With these emergency actions in your toolbag, you'll be better equipped to tackle burst pipes head-on and protect your home from extensive damage.
Burst pipes are the unwelcome guests that can turn your home into a wet disaster. To be prepared for a pipe burst event, let's dive into the essential emergency steps you should take. Quick response is the name of the game, and here's your playbook.
1. Shut Off the Water Supply
When faced with burst pipes, your immediate action should be to locate and shut off the main water supply. This crucial step halts the flow of water and prevents further damage. The main shut-off valve is typically located near the water meter or where the main line enters your home. Familiarize yourself with its location beforehand to save precious time during an emergency.
2. Electricity Off, Safety On
Water and electricity don't mix well. To ensure your safety, turn off the electricity supply to the affected area or the entire house if necessary. This precautionary step helps prevent electrical shocks and minimizes the risk of electrical fires. Remember, safety first!
3. Open Faucets
Once you've shut off the main water supply, open all faucets in your home. This helps release any remaining water and reduces pressure in the pipes, mitigating the extent of the damage. Don't forget to flush toilets to drain water from the tank and bowl.
4. Identify the Source
Track down the source of the burst pipes. This might require a bit of detective work, but identifying the specific location of the damage is crucial for effective repairs. Look for visible leaks, water stains, or bulging areas on walls and ceilings.
5. Call in the Professional
While quick actions can minimize immediate damage, it's essential to call in professionals to assess and repair the burst pipes. Experienced plumbers have the expertise and tools to address the burst pipe issue. It is also important to call water mitigation professionals to clean up the mess and restore your property to its original state.
In conclusion, responding to burst pipes requires a quick and systematic approach. Shut off the water supply, secure your electrical system, open faucets to relieve pressure, identify the source of the problem, and don't hesitate to bring in professional help. With these emergency actions in your toolbag, you'll be better equipped to tackle burst pipes head-on and protect your home from extensive water damage.
Tips to Prevent Flooding in Your Basement
7/5/2023 (Permalink)
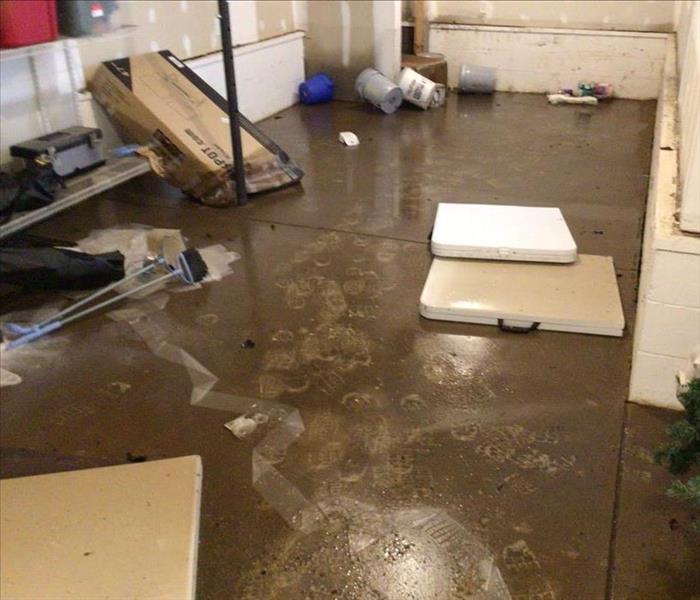
Your basement is an important space in your home, providing extra storage, a cozy hangout spot, or even a home gym. However, basement flooding can quickly turn it into a soggy mess, causing significant damage and inconvenience. To help you protect your basement from flooding, we've put together some friendly tips that can save you time, money, and stress.
Maintain Proper Grading: Ensure that the ground surrounding your home slopes away from the foundation. This helps direct rainwater away from your basement, reducing the risk of flooding. Regularly inspect and adjust the slope if necessary, paying attention to any signs of erosion.
Clear Gutters and Downspouts: Clean your gutters and downspouts regularly to prevent clogs and ensure proper water flow. When gutters are blocked, rainwater can overflow and seep into your basement. Extend downspouts away from the foundation, ideally by at least five feet, to redirect water safely.
Install a Sump Pump: Consider installing a sump pump in your basement. This device automatically detects water levels and pumps out excess water to prevent flooding. Regularly test your sump pump to ensure it is functioning properly, and keep a backup power source in case of electricity outages.
Seal Foundation Cracks: Inspect your basement walls and floors for any cracks or gaps. Seal these openings using appropriate waterproofing materials to prevent water from seeping through. Addressing foundation issues promptly can significantly reduce the risk of basement flooding.
Install Window Well Covers: If your basement has windows at or below ground level, install window well covers. These covers keep rainwater, leaves, and debris from accumulating in the window wells and potentially causing flooding.
Check Plumbing and Water Appliances: Inspect your basement's plumbing regularly for leaks, drips, or any signs of water damage. Additionally, ensure that water-related appliances, such as washing machines, water heaters, and sump pump discharge pipes, are properly maintained and functioning.
Consider Interior Drainage Systems: If your basement is prone to flooding, consider installing an interior drainage system. These systems collect and redirect water away from your basement, protecting it from potential water damage.
Remember, disaster can strike unexpectedly, even with the best preventive measures in place. In such unfortunate events, don't panic! SERVPRO of Harnett County East and Sampson County North is here to help. Our experienced professionals specialize in restoring and cleaning up after water damage incidents. With our prompt response and advanced techniques, we will assist you in getting your home back in order as soon as possible.
By implementing these preventive measures, you can significantly reduce the risk of basement flooding and protect your valuable space from water damage. However, if flooding does occur, trust SERVPRO of Harnett County East and Sampson County North to provide reliable and efficient restoration services. We are committed to restoring your home to its pre-flood condition and helping you regain peace of mind. Remember, when disaster strikes, SERVPRO is just a call away!

 24/7 Emergency Service


