Repairing Water-Damaged Walls: A How-To Guide
10/16/2024 (Permalink)
Water damage to walls can be a frustrating experience for any homeowner. Whether it's due to a burst pipe, a leaking roof, or flooding, the damage can be extensive if not addressed quickly. In this guide, we’ll walk you through the steps of repairing water-damaged walls, helping you restore your home to its original condition.
Assess the Extent of the Damage
The first step in repairing water-damaged walls is to assess the extent of the damage. Look for signs such as discoloration, warping, bubbling, or peeling paint. In some cases, the damage might be superficial, while in others, it could have penetrated deeper into the drywall or insulation. Use a moisture meter to determine the level of moisture in the wall. If the damage is extensive, it’s advisable to consult a professional restoration service like SERVPRO® to ensure a thorough and safe repair.
Remove the Damaged Material
Once you’ve assessed the damage, the next step is to remove the compromised material. Start by cutting away any visibly damaged drywall. Be sure to cut back to where the drywall is still solid and free from moisture. If the insulation behind the wall is wet, it will also need to be removed and replaced. Removing wet insulation is crucial to prevent further issues, such as mold growth or structural damage.
Dry Out the Area
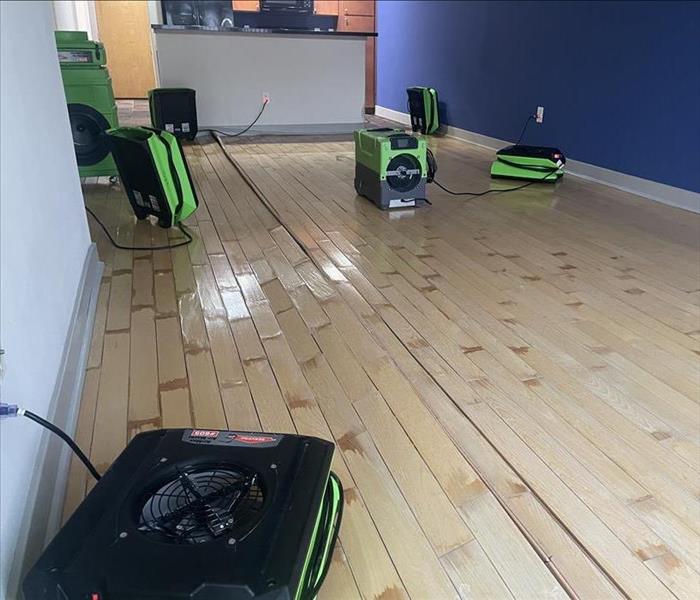
After removing the damaged materials, it's essential to dry out the affected area completely. Use fans, dehumidifiers, and, if necessary, industrial drying equipment to remove all moisture. The drying process can take several days, depending on the extent of the damage and the humidity levels in your home. Proper drying is critical to prevent any lingering moisture that could lead to additional problems down the line.
Repair and Replace
Once the area is completely dry, it's time to repair and replace the damaged sections of the wall. Begin by installing new insulation, ensuring it’s the same type and thickness as the original. Next, cut a piece of drywall to fit the hole you’ve created. Secure the new drywall with screws, and then tape and mud the seams to create a smooth finish. After the mud has dried, sand the area until it’s even with the surrounding wall.
Prime and Paint
The final step in repairing water-damaged walls is to prime and paint the repaired area. Start by applying a primer designed for high-moisture areas, which will help seal the drywall and prevent future damage. Once the primer is dry, apply a coat of paint that matches the rest of the wall. Depending on the paint color and the extent of the repair, you may need to apply multiple coats for an even finish.
Repairing water-damaged walls is a task that requires attention to detail and patience. By following these steps, you can restore your walls to their original condition and protect your home from future water damage. If the damage is extensive or you’re unsure about any part of the process, don’t hesitate to reach out to SERVPRO for professional assistance. Our team is ready to help you get your home back to normal as quickly as possible.

 24/7 Emergency Service
